
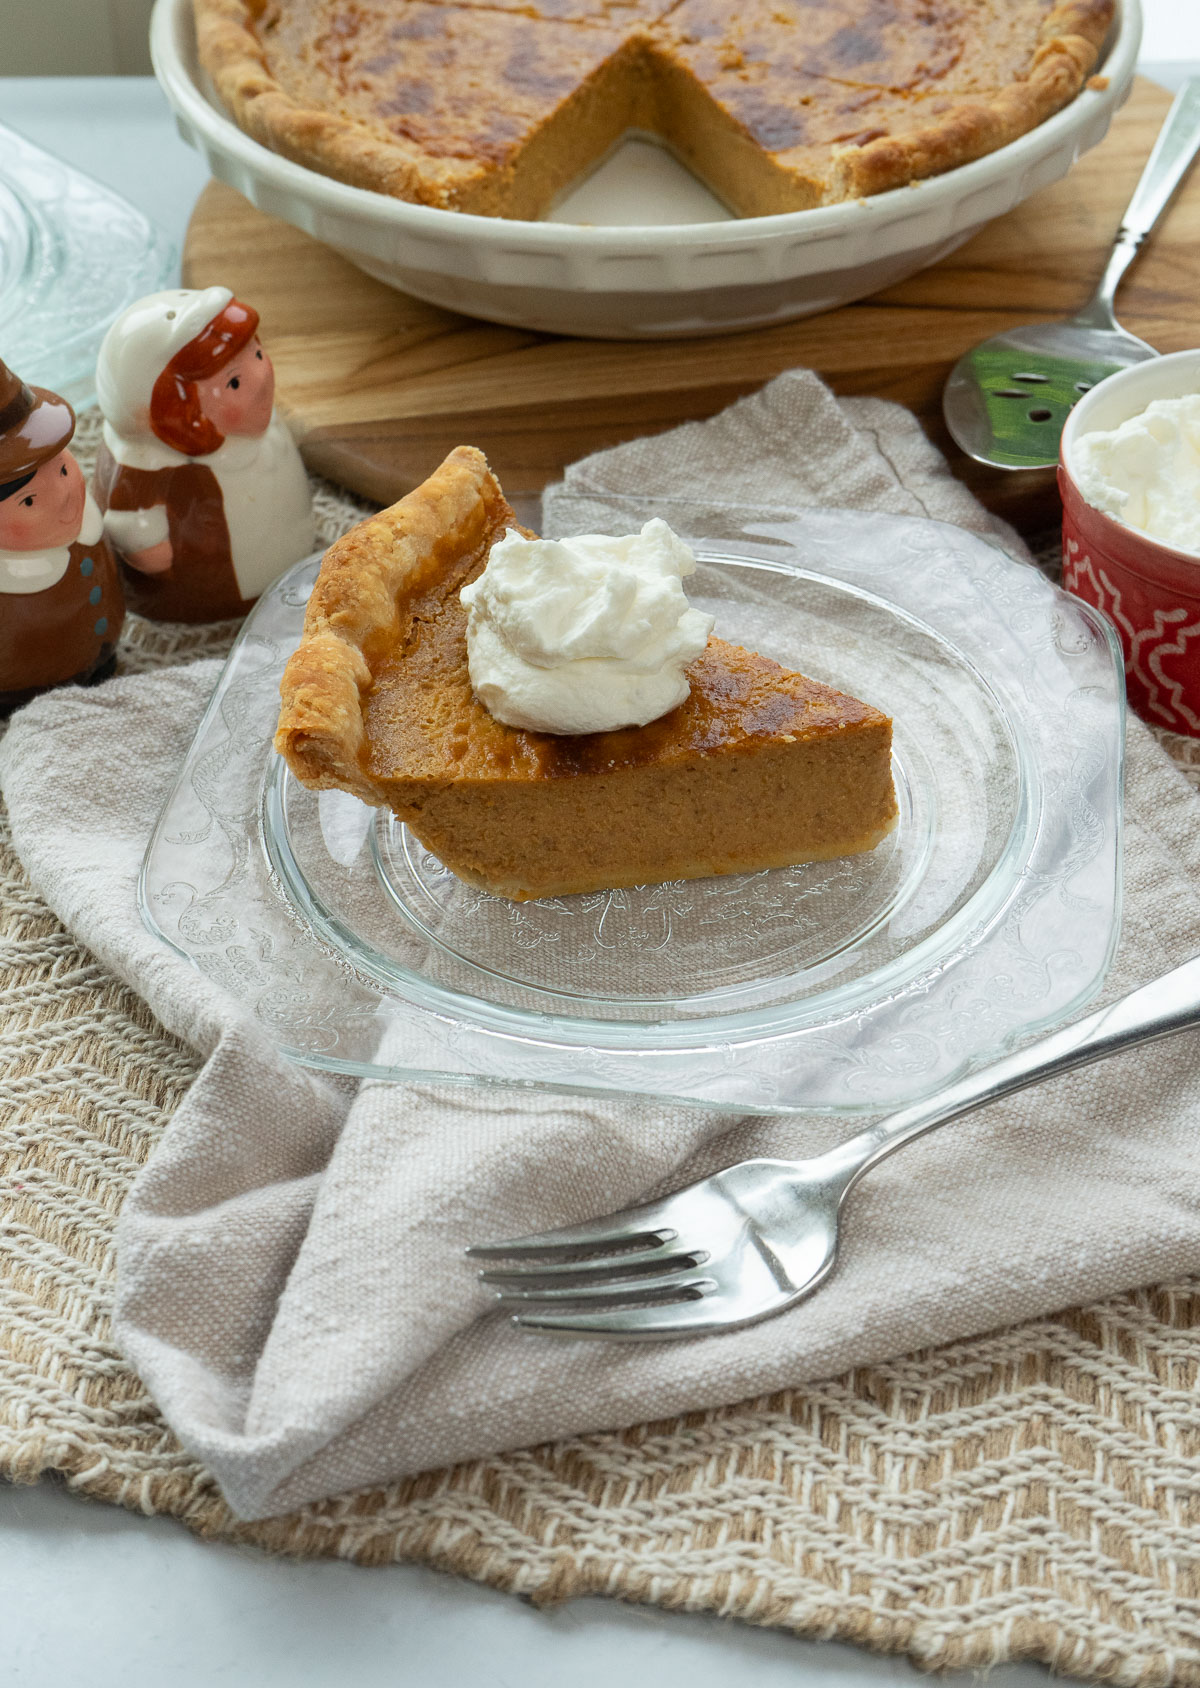
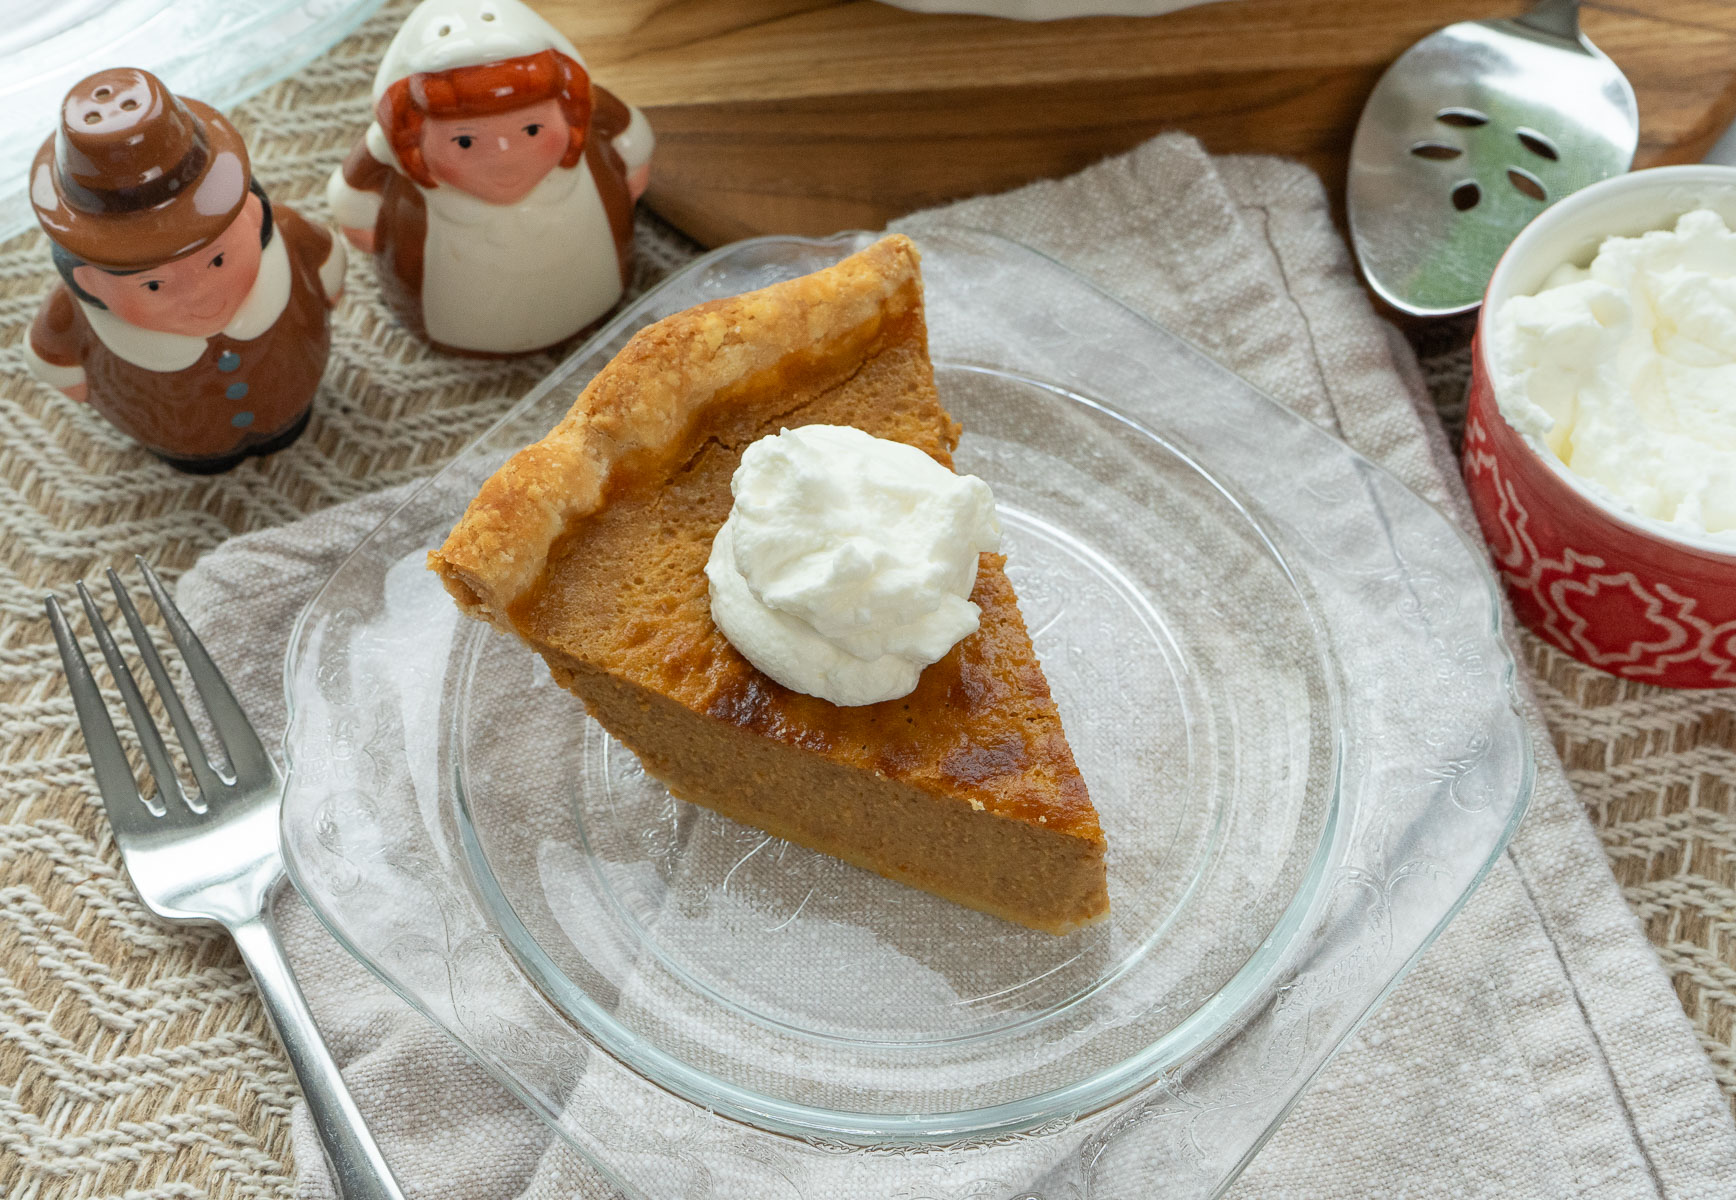
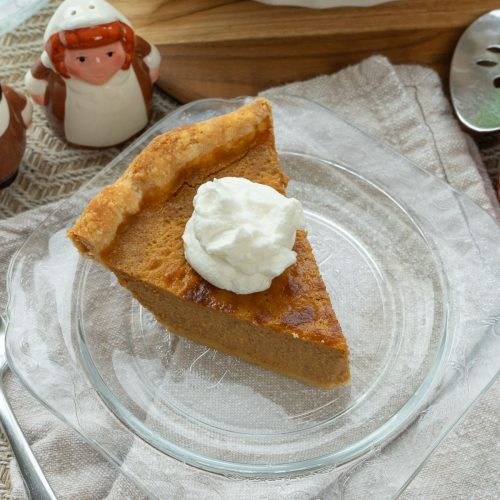
Maple Pumpkin Pie with maple whipped cream
Pumpkin is probably the number one fall favorite with maple in a close second when it comes to food and drink categories! This great recipe gives you a two for one. Pumpkin pie with real maple syrup added gives this custard pie the perfect amount of sweetness and the flavor of the maple pairs so well with the warm spices.
Why I love pumpkin pie so much
Pumpkin spice and everything nice! Maple, cinnamon, nutmeg, and clove all the warm cozy flavors of fall; and the smell of this pie, when it’s baking, is amazing! Need I say more? Pumpkin pie is one of my all time favorite desserts. I have always loved custard. Creme Brulee, rice pudding, pumpkin pie is right there at the top of the list. This maple pumpkin pie recipe is the best way to celebrate. I stumbled on the idea one year when I found myself short on sugar so I added pure maple syrup and voila! A pie was born. The best way to eat this delicious recipe is of course with spiced maple whipped cream! You do not need to wait for the holiday season to make this pie. I made one a couple weeks ago and it was gobbled right up!
Gather these ingredients
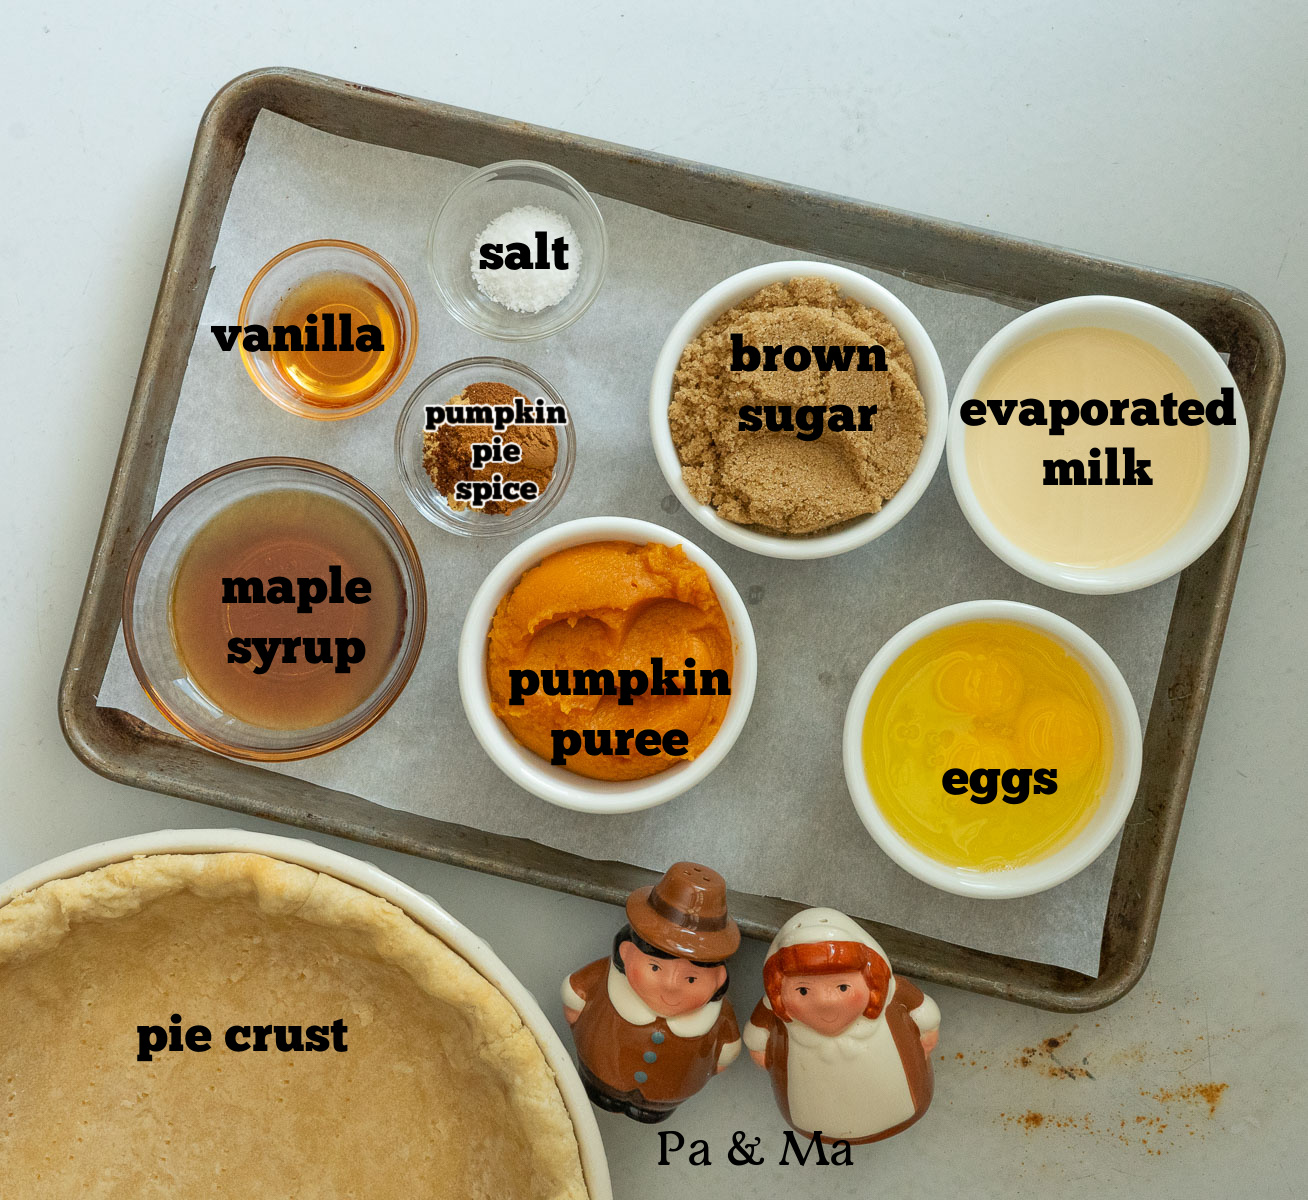
- 1 unbaked pie crust
- pumpkin puree
- sugar
- eggs
- pumpkin pie spice
- salt
- maple syrup
- evaporated milk
- heavy whipping cream
How to make maple pumpkin pie
1.Prepare pie crust. Roll it out, place in a pie plate, crimp edges of the pie crust, and set it aside. Preheat the oven to 425 degrees.
2.Add eggs, sugar, spices, and maple syrup to the mixing bowl. Mix on high for 3 minutes. Eggs and sugar should be light and fluffy.
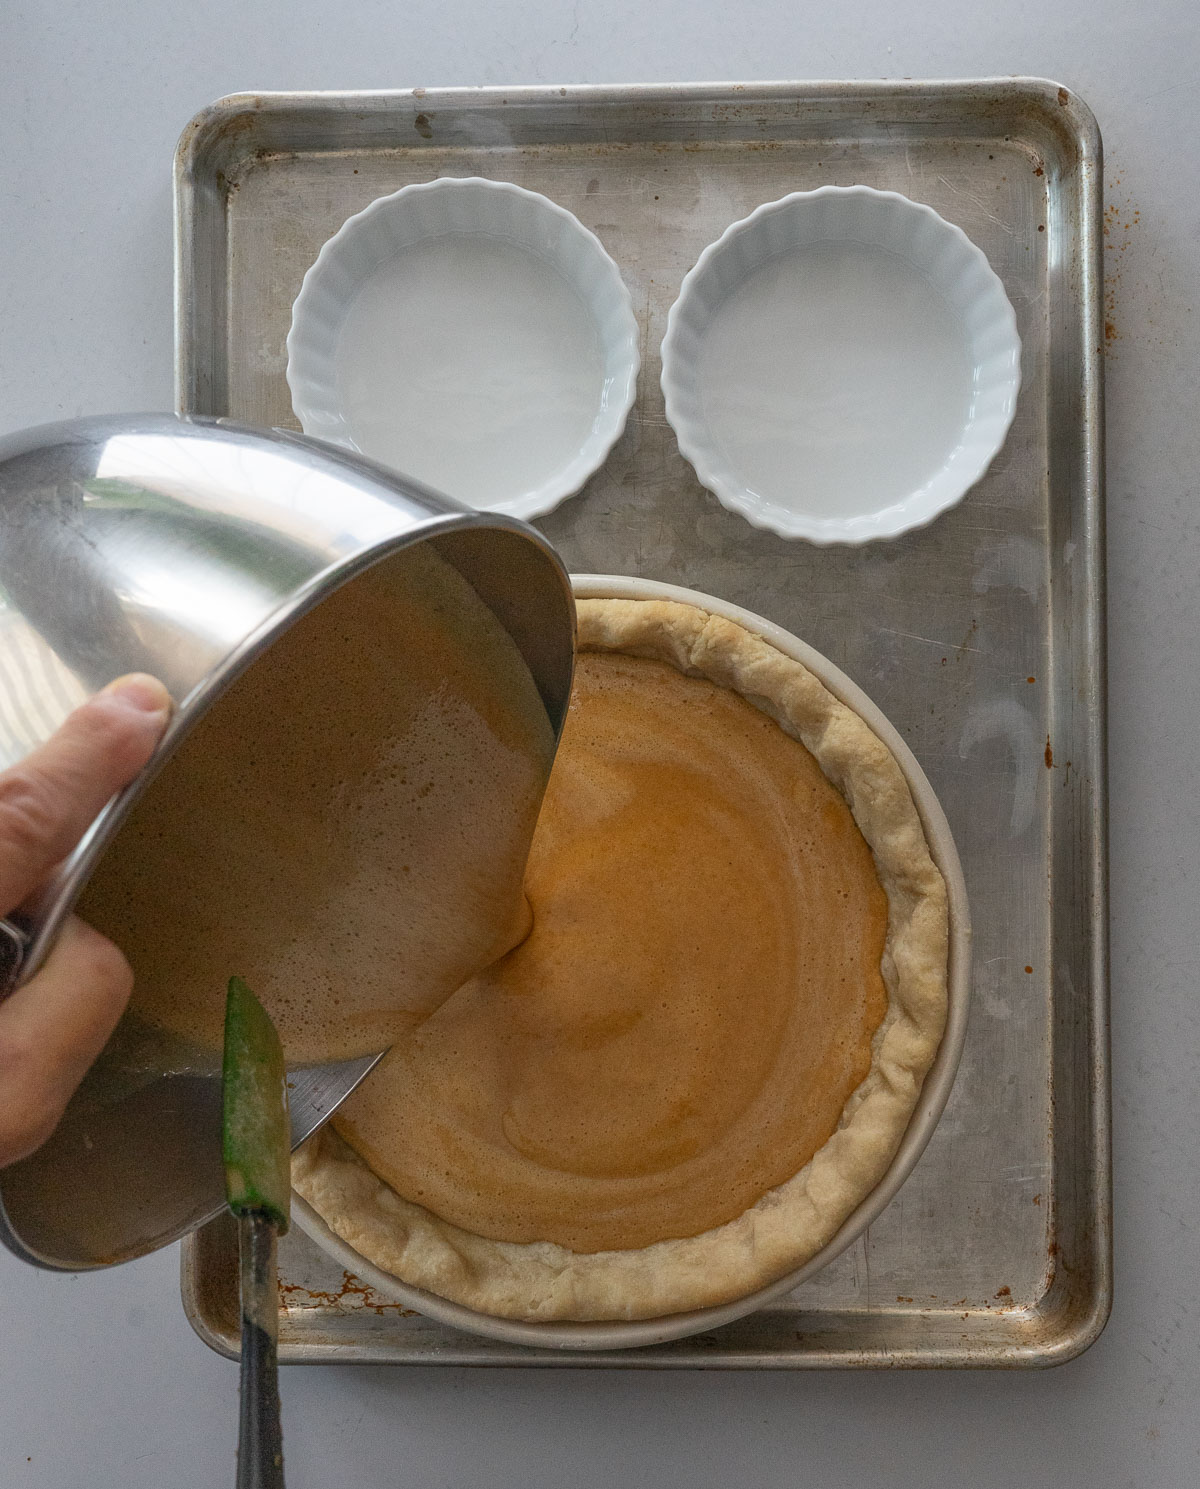
3.Add pumpkin, mix for an additional minute or two until fully incorporated. Gradually add evaporated milk.
4.Place pie plate on a baking sheet, pour pumpkin filling into an unbaked prepared crust. Bake at 425 degrees for 15 minutes. Turn down the oven temperature to 350 degrees and bake for an additional 45 minutes. Remove from oven and transfer pie to a wire rack
**How to tell if pumpkin pie is done: give the pie a nudge, if the center of the pie jiggles that is fine. It should not slosh. The pie should also be puffed up. It will settle back down after it cools. Your pie will continue to finish baking after being removed from the oven, so don’t worry if it is a little loose in the middle. This is called carry over cooking.
Allow the pie to completely cool before cutting into. I prefer to bake my pie earlier in the day or even the day before I am going to serve.
Tips & FAQs of pie baking
- Storage: Pumpkin pie contains eggs and dairy so any leftover pie should be stored in the refrigerator. If you are baking pies the day before Thanksgiving dinner or your holiday celebration, make sure the pie cools completely before placing it in the refrigerator.
- PRO TIP: If you live in a cooler climate, you can use your garage or porch space as a refrigerator if it is 40 degrees or below. Just be mindful of pesky varmints, and keep your pies in pie carriers or stored safely in a box. Squirrels and raccoons love themselves a slice of pumpkin pie!
- Size of pie pan: This recipe calls for a 9 inch pie tin. A 10 inch pie pan can also be used; the pumpkin pie filling won’t be as thick as it will with a smaller pan. If you have those cute individual little pie plates, or the disposable type you will get 4 mini pies out of this recipe.
- QUESTION 1: How do I keep from getting a soggy crust? I usually do not blind bake my crust for pumpkin pie. However, there is no rule against it. Here is my tutorial on blind baking pie crust.
- QUESTION 2: Can I use store-bought pie crust? Suite yourself! I have been known to resort to store-bought pie crust when I’m in a pinch. They are never as good as homemade but they get the job done.
- QUESTION 3: How can I make this recipe gluten free? Bob’s Red Mill and King Arthur Flour Company both make a pie crust mix that I have been told is very good. So you can go that route or you can leave the crust out all together, and bake maple pumpkin pie filling in individual ramekins. This recipe makes 6-8 individual ramekins. Heat oven to 350, bake for 20 minutes, check for doneness with the jiggle test, if not done give additional time until filling is puffed up, and jiggles but does not slosh.
- QUESTION 4: What’s the fastest way to make whipped cream? Making whipped topping from heavy cream is so easy, and takes very little time. If you want to make the process go faster place your glass or stainless bowl in the refrigerator or freezer ahead of time just long enough to get it chilled, then add your cold heavy cream to the bowl and whip with a hand mixer, your stand mixer, or an immersion blender works as well. You want soft to medium soft peaks, do not beat too long you will get butter! The pie is sweet enough so whipped cream needs very little sweetener. After whipping, transfer to your serving bowl cover and store in the refrigerator until ready to serve. This can be done up to 6 hours ahead of time.
More great fall desserts
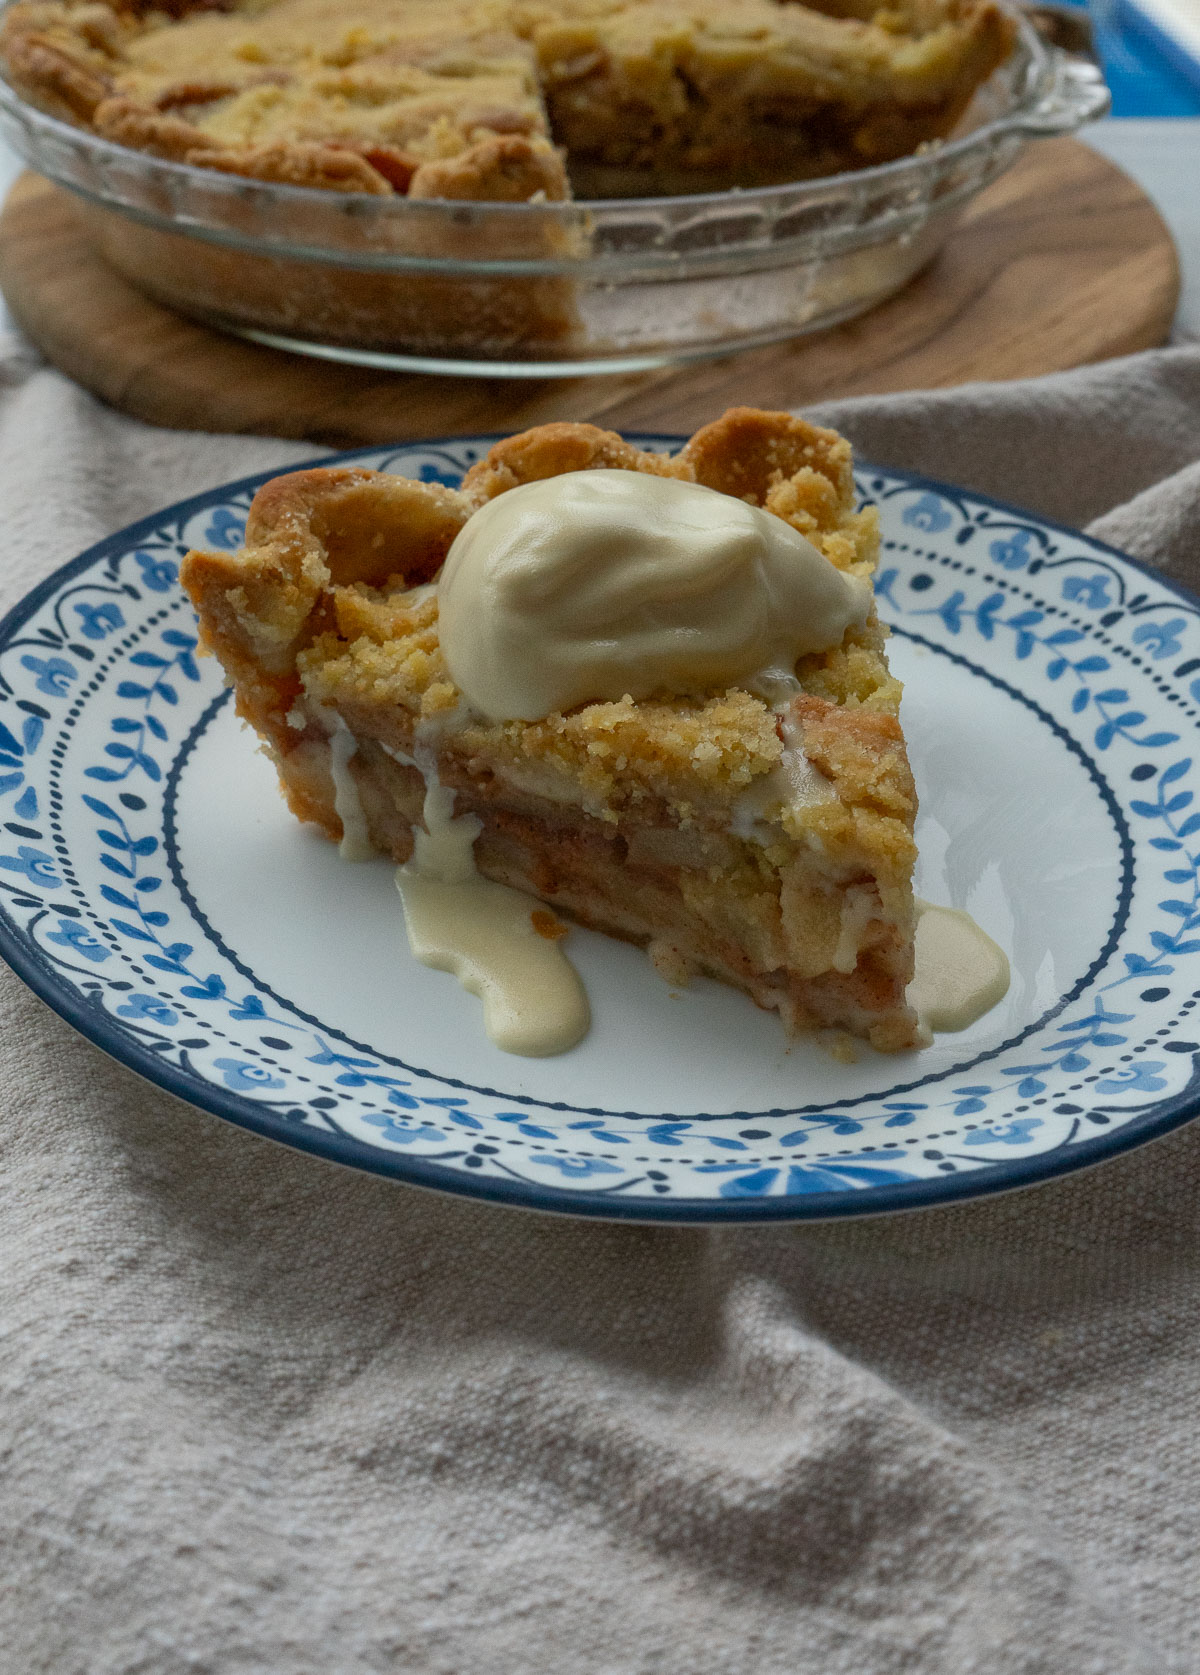
- Dutch Apple Pie
- Pecan Pie
- Kentucky Bourbon Pecan Pie (chocolate)
- Caramel Apple Sheet Cake
- Caramel Toffee Bundt Cake
Pie is my absolute favorite! If you have been around Eat2gather long you know that. Flaky, golden brown crust filled with delicious fillings served warm with ice cream or chilled with whipped topping. I am here for you. If you’ve never made a pie and it freaks you out I challenge you to give it a try! Any questions ask in the comments and I will answer as soon as possible.
What is your favorite pie?
Maple Pumpkin Pie with maple whipped cream
Equipment
- hand or stand mixer
Ingredients
- 1 pie crust
- 3/4 cup granulated sugar
- 1/4 cup pure maple syrup DO NOT use pancake syrup
- 2 whole eggs
- 15 ounces unsweetened pumpkin puree
- 2 1/2 tsp pumpkin pie spice
- 1 tsp pure vanilla extract
- 1/2 tsp salt
- 12 ounce can evaporated milk
spiced maple whipped cream
- 1 cup heavy whipping cream
- 2 tbsp pure maple syrup do not use pancake syrup
Instructions
preheat oven to 425°
- Prepare pie crust. Roll out pie crust onto a lightly floured surface. Place in 9 inch pie plate and crimp edges. See my pie crust tutorial.
- Add sugar, eggs, and maple syrup to mixing bowl and mix on medium high speed until light and fluffy. 3-5 minutes.
- Add salt, vanilla, and pumpkin puree combine. Slowly add in evaporated milk on low speed. Scrape down sides of bowl with spatula making sure everything is combined well.
- Place pie plate with pie crust in it on a baking sheet. (I do this just in case the filling decides to try and escape. It is also much easier to transfer unbaked pumpkin pie to the oven if its on a flat surface.) Pour filling into crust.
- Place in preheated oven for 15 minutes, then lower oven temperature to 350 degrees and bake for an additional 40-50 minutes. When pie is puffed up and does not appear to be sloshy in the middle the pie is done. you can also stick a toothpick in the middle if it comes out clean it's done.
- remove pie to a wire rack for cooling. Allow 1 hour before cutting into pie. If making pie the day before allow to cool completely, cover, and store in refrigerator. Eat cold, or remove and allow to come to room temperature.
spiced maple whipped cream
- Add cold heavy cream to a cold glass or stainless steal bowl, add in maple syrup and whip until soft to medium soft peaks appear. This will take no longer than 5 minutes. Be careful not to beat too long or your cream will break and you will have butter!