

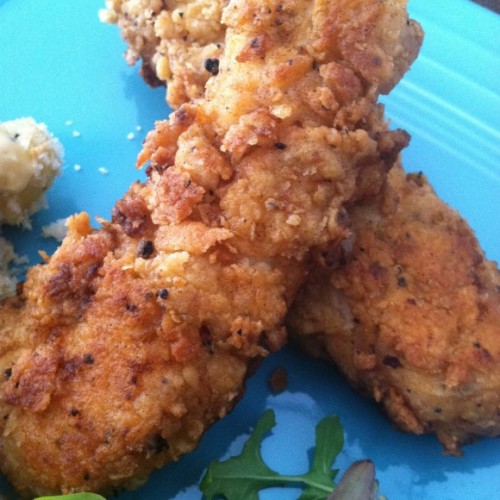
Homemade Chicken Fingers
Nothing is better than a Summer picnic table with homemade fried chicken tenders, potato salad, corn on the cob, baked beans, and thick, juicy slices of watermelon. This was my childhood.
Why I love crispy chicken tenders
I’ve learned that not many people actually fry their chicken, but everybody loves it! I grew up eating homemade fried chicken. My grandma and my mom are famous for it. There’s nothing fancy about the way my family makes fried chicken. I think the beauty is in the simplicity of this recipe. You need to make more than you think you would ever eat because it’s hard to stop eating it, and the leftover chicken is amazing! I know fried food gets a bad rap. I see recipes for easy baked chicken tenders; I’ve tried them. They just aren’t the same; honestly, this is not something we eat weekly. So, what’s the harm in some fried crispy chicken strips once or twice a year?

Here is the back story. My maternal grandfather is from the south, as in Carthage, Missouri. He met my grandma (born and raised in Michigan) while they were both in the Marines during WWII. After the war, they wed. As the story goes, one thing led to another, and Grandma attempted to make fried chicken for her new beau. It was a disaster. He said to get in the car; he drove her to his Mama in Missouri to learn how to make proper fried chicken. The rest is history. And now it’s my honor to share this easy chicken recipe with you!
Gather these ingredients
How to make fried chicken tenders
Deep frying chicken is somewhat like making pie crust. You need to get a feel for it, but honestly, it’s really not hard at all. Fried chicken tastes delicious and served at room temperature it makes perfect picnic food. Allow me to introduce you to the art of frying CHEEECKIN.
YOU WILL NEED: sheet pan, paper towel, parchment paper, large glass or plastic bowl, shallow bowl or pie plate, electric frying pan, cast iron skillet or a dutch oven, instant read thermometer, tongs
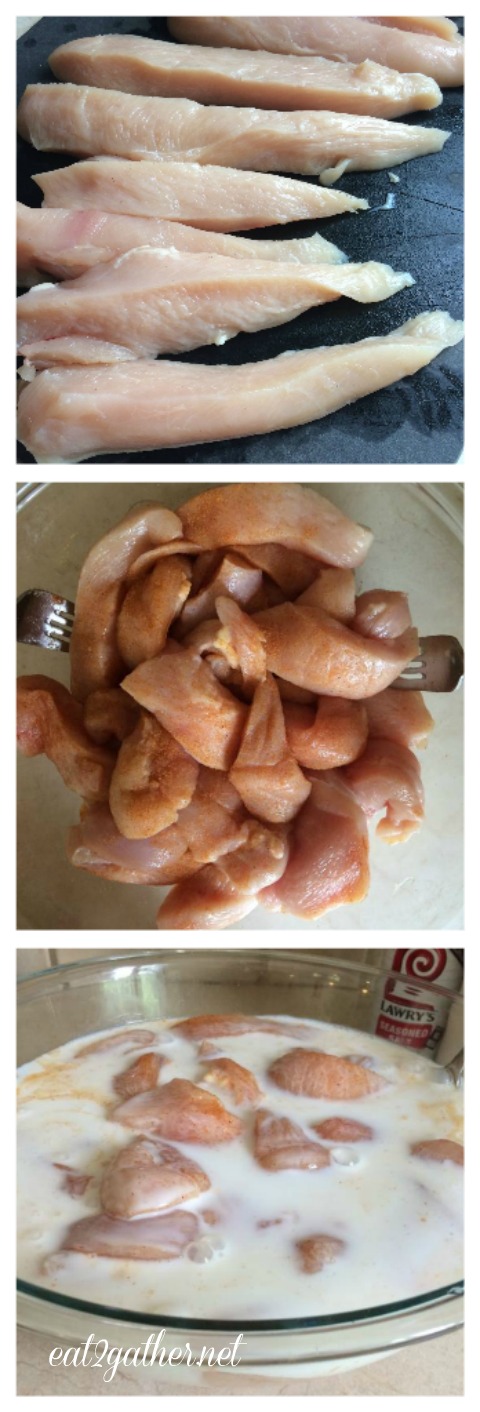
- Chicken tenderloins can be purchased at the grocery store; however, I use chicken breasts and cut them into strips lengthwise. You should be able to get 4 strips out of each breast. Place in large bowl and toss with Lawry’s Season Salt. Pour buttermilk over chicken, and allow 3-24 hours to marinate. You need to cover the chicken with buttermilk. Allow the chicken to come to room temperature before frying. If the chicken is cold straight from the refrigerator, it will lower the temperature of the oil, causing it to cook improperly.
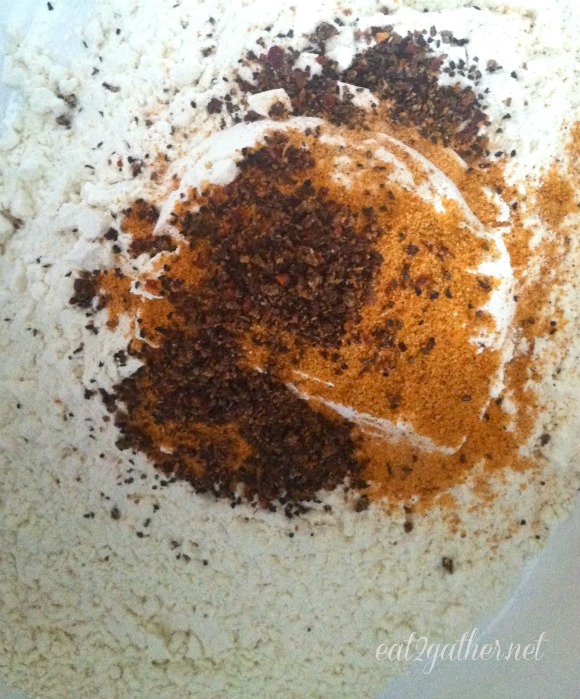
2. Time to cook. It’s important to get your setup in place. I do not like to fry food in my kitchen, so I usually set a table in my garage or back patio. You can use an electric frying pan or utilize the side burner on your grill if you have one. (Be sure not to use the grill simultaneously; you will have a doozy of a grease fire!) Mix flour, seasoning salt, and black pepper in a shallow dish. Put 1-2 inches of oil in your pan and start to heat it.
How to tell if oil is ready: If you want to use a thermometer, the oil should be 350F. This is how I do it: I take a little bit of buttermilk mixture, drizzle it in the flour, and then I take a little clump of buttermilk flour and drop it in the hot oil. If the flour sizzles right away and floats to the top, you can start frying!
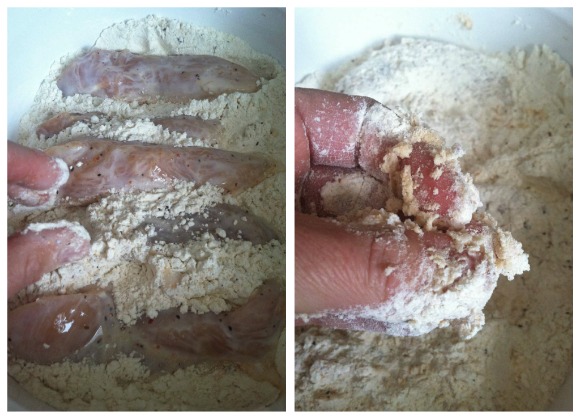
3. The best way is to remove the chicken one piece at a time and place it in the flour. Dredge heavily in flour. I like to toss and turn my chicken, making sure it’s nice and coated with flour. Your fingers will get a bit gummy during this step. Try to keep one hand dry and one hand for the dirty work. Can you tell what’s my fingers and what’s chicken?
It’s finally time to start deep frying!

4. Lay the coated chicken pieces in a single layer in the pan, being careful not to overcrowd the pan. Allow the chicken to cook for 3-4 minutes on each side.
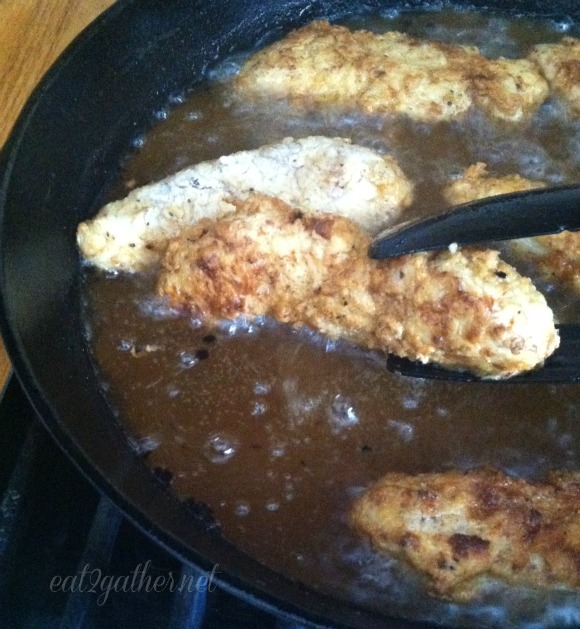
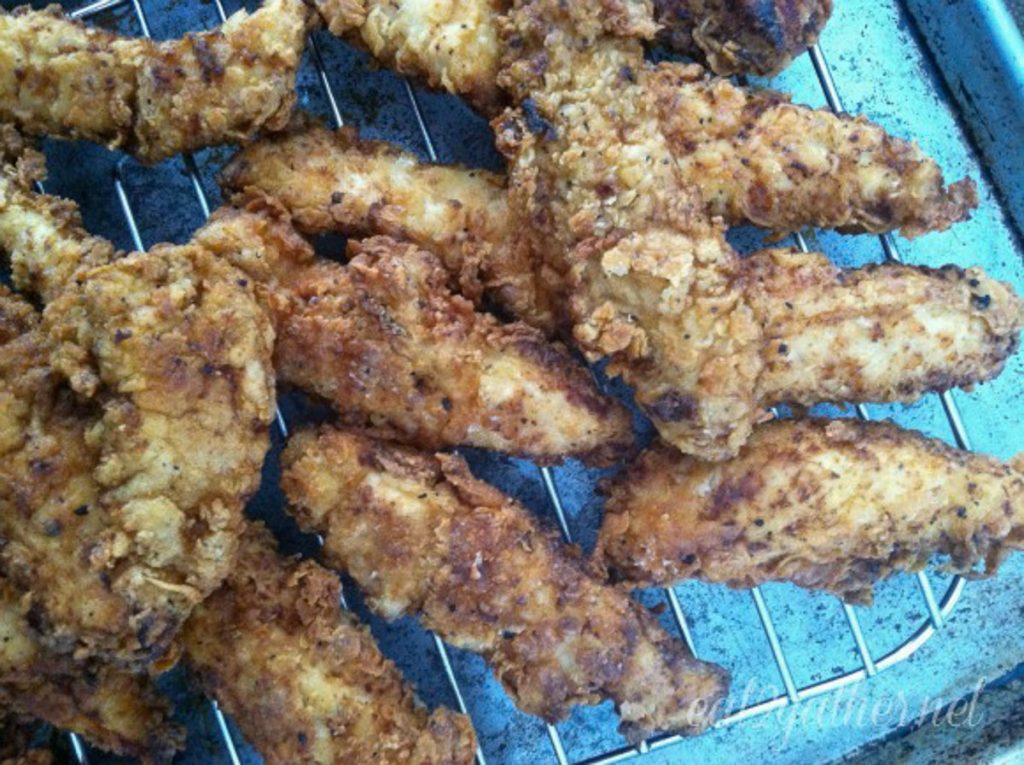
Using tongs, turn the chicken over in the pan. Total cooking time is 6-8 minutes. The Internal temperature should be 165 degrees. If the temperature is slightly lower, that is fine; the chicken will continue to cook after removal from the pan. Remove the cooked tenders to a baking sheet lined with paper towels to soak up any excess oil. Then move to a baking sheet lined with parchment paper and place it in the oven on warming mode while you continue to fry the rest of your chicken.
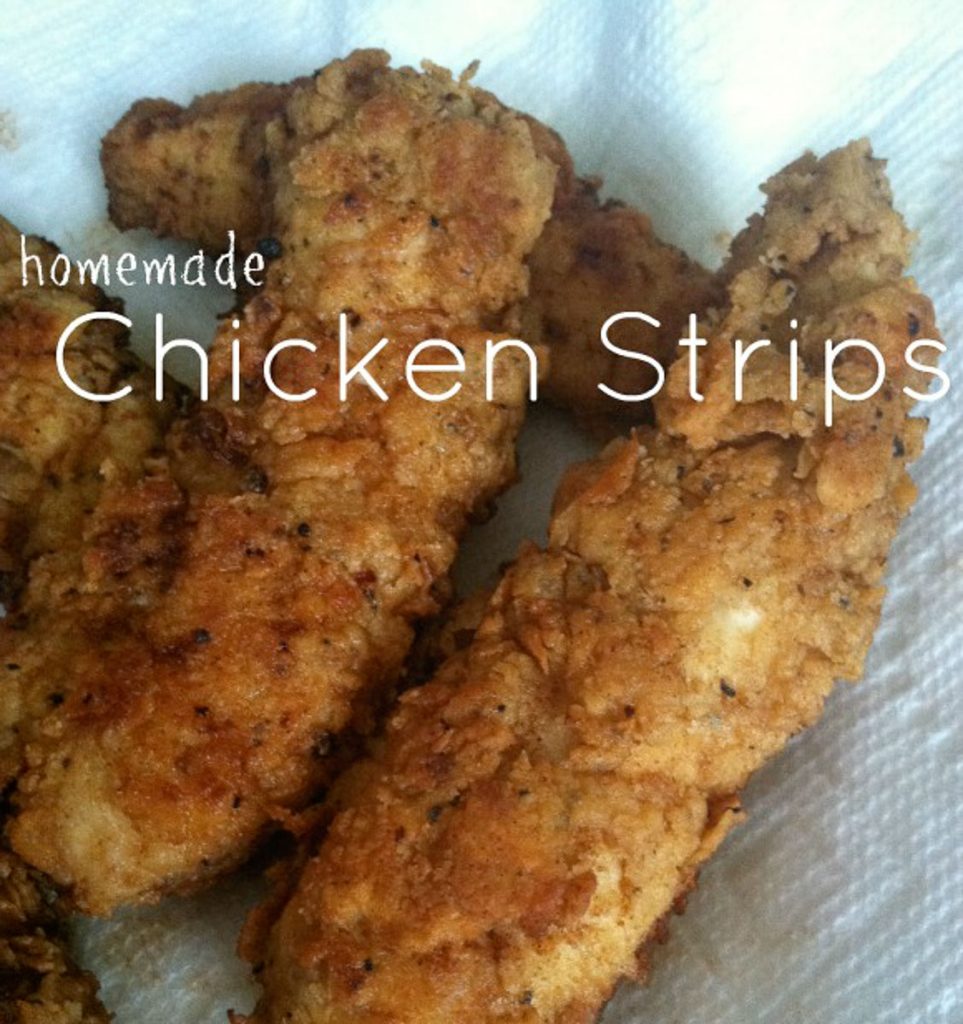
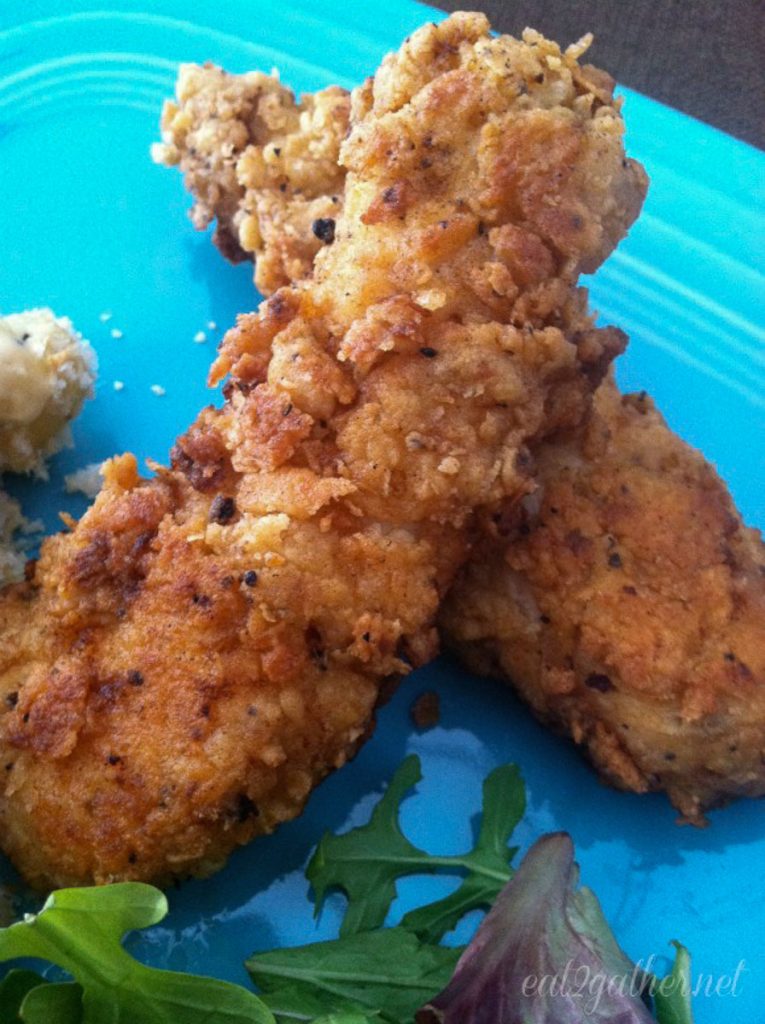
I know you are drooling over this golden brown juicy chicken! I’m telling you these are the best chicken tenders your entire family is going to flip for these!
Tips & FAQs
- Spice it up: A great way to do this is to add cayenne pepper, or garlic powder to the flour along with the seasoning salt.
- Bone in chicken: Bone-in chicken is done the same way. The chicken will need to fry longer, up to 15 minutes, depending on the size of the piece of chicken. You will want a lid for your pan. Cover, and keep an eye on the oil heat. You do not want it to get too hot and burn the chicken. Use your thermometer to check the internal temperature; it should be 165 degrees. Turn the oven to 250 degrees and place the cooked chicken pieces on a wire rack sitting on a baking sheet in the oven. This allows them to stay warm while you cook the remaining pieces of chicken, keeping them crispy.
- Allow the chicken to come to room temperature before frying. If the chicken is cold straight from the refrigerator, it will lower the temperature of the oil, causing it to cook improperly.
- Serving: A great way to serve chicken tenders is with a line up of sauces, barbecue sauce, homemade ranch dressing, honey mustard sauce, siracha, what ever sauce is your favorite!
- Storage: Like I said, make plenty because the leftovers are amazing! Make chicken is cool and store in an airtight container in your refrigerator for up to 3 days. Reheat in microwave or eat cold! Just standing at the fridge door open chompin down some fried chicken tendies at 1 am…who? what? No I’ve never done that!
- Leftovers: We love to use the leftovers to make these wraps. We also love to make a big green salad and cut them up on top for lunch or a “healthier” dinner the next night.
- Reheating: The best way to reheat and re-crisp fried chicken is to place it on a parchment-lined baking sheet and place it in a 400-degree oven. If you have a convection setting on your oven, even better; it’s like a giant air fryer. Speaking of air fryers, this is the best way to reheat your chicken tenders. And, of course, the microwave always works as well.
There you have it! The full recipe is below the recipe card. You can print it out and put it in your neighbors’ mailboxes! Their picky kids will love you. Please, as always, take a minute to rate this recipe, share it on your social media, and pin it on your favorites on Pinterest!
Love you guys, thanks for being here, XO Sheila
Homemade Chicken Fingers
Equipment
- thermometer
- tongs
- sheet pan
Ingredients
- 3 pounds boneless, skinless chicken breasts
- 4 cups buttermilk
- 2 tbsp Lawry’s Season Salt
- 2 cups all-purpose Flour
- 1 tsp fresh ground pepper
- 4 cups vegetable oil for frying you need 1-2 inches of oil in your frying pan
Instructions
- Trim off excess fat, and grizzle from the chicken breasts and cut each into 4 strips.
- Place chicken strips in a glass or plastic bowl toss with 1 tablespoon of season salt, pour buttermilk over chicken cover and let marinate for at least 2 hours or up to 24 hours in your refrigerator.
- Add flour, season salt and pepper to a shallow dish and combine. Set aside.
- If you have a cast iron skillet, this works best; if not, any large frying pan or Dutch oven will do. (Actually, an electric frying pan works the best.) Pour 1-2 inches of vegetable oil into the pan and turn the heat on medium. If you have a thermometer, you want the oil temperature to be between 350 and 375 before frying. Or you can use the flour test, as demonstrated in the blog post.
- Dredge the chicken in seasoned flour, making sure every part of the strip is covered with flour. When the oil is at the correct temperature, carefully lay the strips in the oil, being careful not to overcrowd the pan. Let the chicken strips fry for 3-4 minutes, then take tongs and turn the chicken, allowing it to fry another 3-4 minutes. The chicken should be golden brown.The chicken strips should have a 165° internal temperature if you have a cooking thermometer.
- Remove the chicken to a sheet pan lined with a paper towel. If you are making a large batch, you might want to transfer it to another baking sheet lined with parchment paper and place it in the oven on warming mode.
Notes
-
- If the chicken is cold, it will lower the oil’s temperature, so you may need to adjust the dial on your stovetop to bring the oil temperature back up after adding it to the pan or allow the chicken to come to room temperature before frying.

Used this recipe to fry chicken for the first time, and I will admit, this is the best fried chicken I’ve ever had! It was delicious and super easy to make! I didn’t check my pantry carefully so didn’t realize I was out of oil, which meant the chicken marinated in buttermilk for 3 days before I could get to the store – oops! The chicken was still delicious, and I can’t wait to make again. Thanks for the easy, tasty recipe! 🙂
So glad you persevered through your oil outage! 😉 Thanks for stopping by! XO Sheila
I haven’t had fried chicken in so long – other than the KFC John brought home to feed me when I was sick. 3 weeks of crap I need to work out of my system. These chicken strips would be a good start. 🙂
These look to die for!!
Thanks Liz!